What are UV's
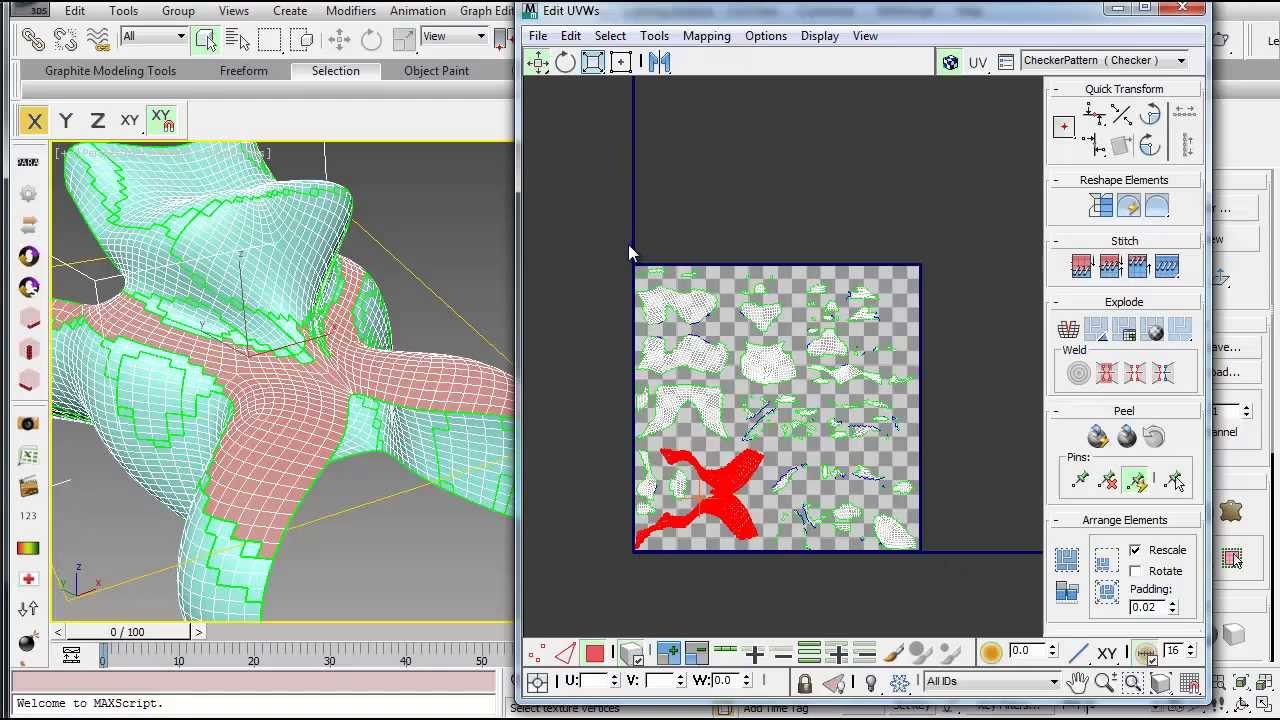
UV's stand for the technique used to wrap a 2D image texture onto a 3D mesh. The U and the V are the names of the axes of a plane.
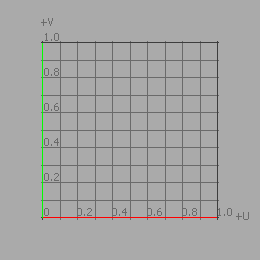
0-1 UV Space
The 0-1 UV Space is simply the coordinates system where 0-1 on the horizontal and the vertical. It can be thought of as the percentage of the length and height where 0 is 0% and 1 is 100%, because the measurement is not explicit the 'square' UV tile can be any aspect ratio.

Working outside the UV space
It is possible to have UV's outside the 0-1 space as long as you also add a second UV channel where everything is in the 0-1 space and there are no overlapping UV's. By having a clean second UV channel UE will use it for light mass baking which means you can do what you like in the first UV channel and it wont affect light baking.
UV software and methods
The UV software's that can be used are Diamant modelling tools, Maya bonus tools, Headus and Roadkill UV Tool.

How to UV with Maya
1) Select the faces you want to map UV's onto.
2) Select UV > Best plane texturing tool.
3) You click faces to add them to selection.
4) Select one or more faces on which you want to map the texture. You cannot marquee- select the faces- you must select the faces one by one, or select the faces before using the operation.
5) Press enter.
6) Select one or more vertices (right-click on the mesh and choose vertex to switch to selecting vertices).
7) Press enter.
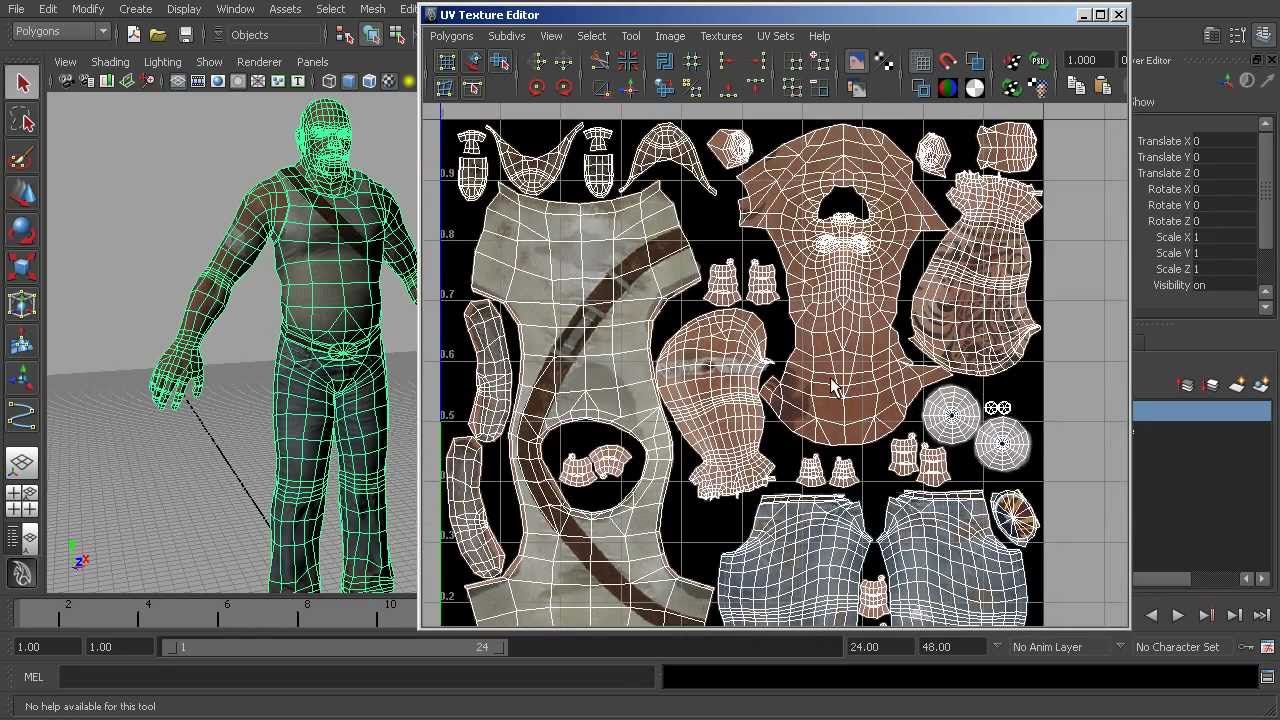
8) Use the UV editor to view and edit the resulting UV's.

Texture maps
Texture mapping is a method for defining high frequency detail, surface texture or colour information on a computer-generated graphic or 3D model.
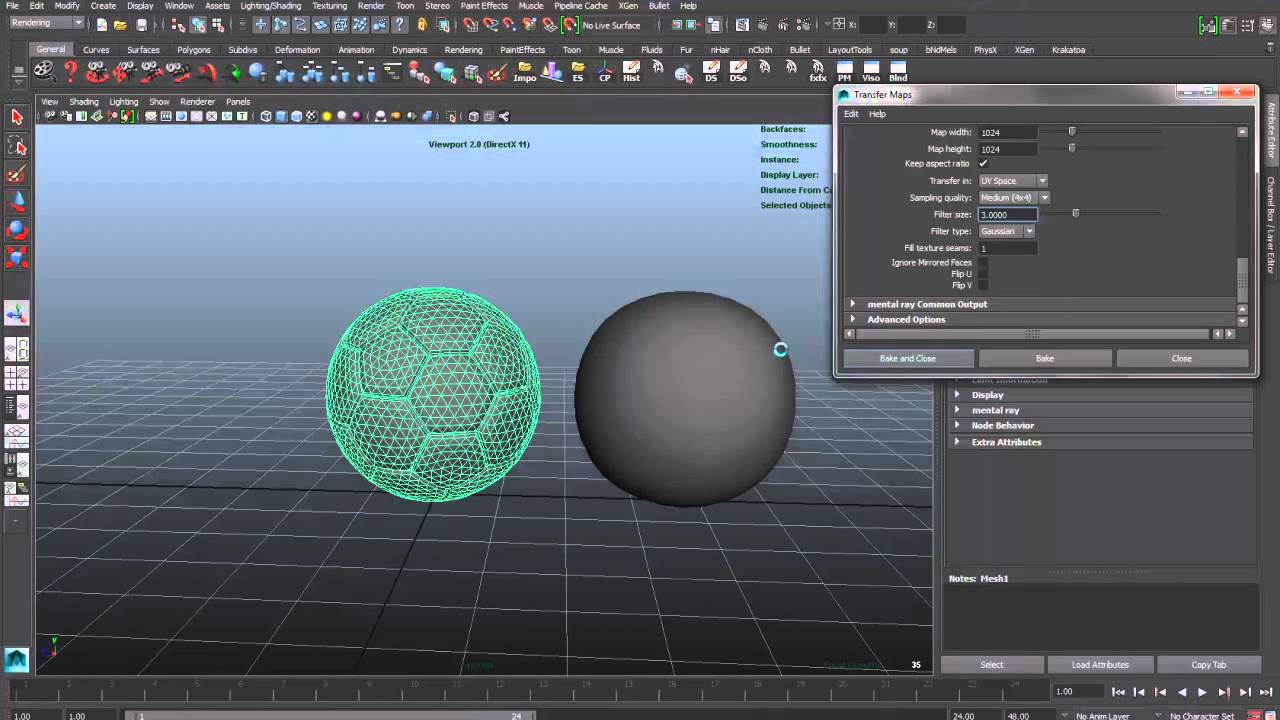
Transfer maps
You can transfer mesh characteristics from one mesh to a texture map on another with the transfer maps editor. The transfer maps editor create a texture map of the mesh attributes of one object (source) and then bakes that map to the mesh geometry of another object (target). Use the transfer maps editor to generate normal maps and other texture maps like displacement and light maps.

Texture / UV Terminology
The texture process is akin to applying patterned paper to a plain white box. Every vertex in a polygon is assigned a texture coordinate (which in the 2D case is also known as UV coordinates). This may be done through explicit assignment of vertex attributes, manually edited a 3D modelling package through UV unwrapping tools. It is also possible to associate a procedural transformation from 3D space to texture space with the material.
What is 3D modelling?
3D modelling is the process of developing a mathematical representation of any surface of an object ( either inanimate or living ) in 3 dimensions via specialised software. The product is called a 3D model.
How is modelling for games different from modelling for films or any other medium
One of the biggest and most obvious differences between the two is the ever-present polygon budget that's found in any game development process. When it comes to modelling for movies, whether it's animated or a live action film, there's not really a limit on the amount of polygons that can be in any given model. Like any other production, movies have deadlines which must be met. This means you'll need to be able to produce great looking on time and on a budget. In movies you've got free range to use however many polygons it takes to get the model to look good on screen because, in the end, that's what matters the most. For games it's different because you're limited by the power of the game engine and the hardware it's being played on. Games are rendered in real-time right in front of the player, so in order for the game to run at a constant frame rate and maintain it throughout the gameplay, the 3D models must be created at a level that's not taxing on the game engine.

Hard surface / Organic modelling
Hard surface is things like cars, armour, weapons and architectural elements. As a 3D modeller it is common to specialise in hard surface models or organic models. Organic models obviously have a much smoother flowing shapes and very few hard edges. When you think of hard surface you think of objects with sharp edges and an angular shape, hence the 'hard' in hard surface.Organic models is any living thing such as humans, animals, plants, etc. Another artist may define it as anything that deforms and is animated is considered an organic model.
Environmental modelling
High poly modelling / low poly modelling
High poly means a high polygonal count on your 3D model, while low poly is the opposite. Each has it's value and time. High poly gives you more details to play with but renders slowly, therefore it is used in films where we have enough time to render. While low poly is needed in games. For example, it is used to establish a high enough frame rate for real time rendering of the 3D models.
Different modelling software
1) Blender
2) ZBrush
3) Lightwave
4) TinkerCAD
5) 123 Design
6) OpenSCAD
7) FreeCAD
Modelling terminology
1) 3D Model
2) NURBS Modelling
3) Polygon Modelling
4) Subdivision surfaces/ NURMS Modelling
What modelling software is used for games?
Autodesk Maya is an industry favourite. It is an inclusive software with a ton of tools and features.
What are polygons?
The basic object used in mesh modelling in a vertex, a point in 3 - dimensional space. Two vertices connected by a straight line become an edge. Three vertices, connected to each other by three edges, define a triangle, which is the simplest polygon.
What are faces/edges/vertices?
The defining characteristic of a polygonal model is that ( unlike NURBS surfaces ) polygonal meshes are faceted, meaning the surface of the 3D model is comprised of hundreds or thousands of geometric faces. An edge is any point on the surface of a 3D model where two polygonal faces meet. The point of intersection between three or more edges is called a vertex.
What is extruding?
Extrusion is a process used to create objects of a fixed cross-sectional profile. A material is pushed through a die of the desired cross-section
What is bevelling?
The angle or incline of a line or a surface that meets another at any angle but 90 degrees.
What is bridging?
Bridging is when you connect two sets of edges together with a piece of mesh.
What is ambient occlusion?
Ambient occlusion is a method to approximate how bright light should be shining on any specific part of a surface, based on the light and it's environment. This is used to add realism.
What are booleans?
Boolean's let you model with polygonal objects. Three boolean operations let you combine objects to make shapes that would otherwise be difficult to model using other techniques. You can add, subtract or intersect objects to create a new, complex shape.
Maya User Interface
Maya Navigation & Basic Tools
One method for creating a shape, for example a cube. You would have too drag out on the work space and then let go and drag up to create the height. The other method to create a cube is too click on create on the top menu, then go to polygon primitives and then untick interactive creation then the cube will appear without you having to create it yourself. Alt + left click allows you to tumble. Alt + right click allows you to pan the camera in and out. If you use the roller you are actually zooming the the camera in. Alt + middle mouse click allows you to pan. W is the shortcut for the move tool, E is the shortcut for the rotate tool and R is the shortcut for the scale tool. Q is the shortcut to go back to the select tool.
Maya Hotbox & Marking Menus
If you click space on the keyboard it will split up the screen into 4 views which are the top, front, side and perspective view. if you click space over any of the 4 views it will full screen you on that view. If you hit space after changing the outline, the menu will slightly change so it is relevant to the view port menus. If you right click in any space another making menu will appear but it will be very limited because there is nothing in the scene or the mouse if not hovering over anything. If you hover over a cube and right click then a menu will come up with all the things relevant. You can soften and harden edges.
Maya Project Window & Set Project
Project window automatically generates a file system that Maya will recognise to keep us organised so we dont have to make out own system.
Grid setup for unreal
The first thing you have to do is change the settings to centimetres because that is what the default is for unreal engine. You can do this by going to windows, preferences and preferences. To set up the grid in Maya for unreal4 you have to know that 1 x unreal unit is 1cm and 1 x grid unit is 1 cm. If you right click on the grid icon it will pop up grid options and once you click on it will show you the length and width of the grid. To change this to the default of unreal engine, the length and width can be anything you want , grid lines will be every 10 and the subdivisions will be every 1. To export a shape from Maya to unreal engine you have to send to unreal, sent an unreal project. After that you go back to send to unreal and you click selection and you export it out as an FBX file.
Nurbs & Polygons
With the polygon there is a lot more detail than the nurbs. The polygon is also made up of straight edges whilst the Nurbs is curved edges. NURBS is an acronym which stands for Non - uniform rational B - Splines which means that the surface of an object is calculated by lots of mathematical equations in the background. When you right click on the polygon the menu has such things as edge, vertex, etc, However the NURBS has a completely different menu isoparm, control vertex, etc. Polygons are going to be used primarily. NURBS can be converted into polygon by going into modify, convert, NURBS to polygon. You have to go onto edit, delete by type so it doesn't cause you any problems later on.
16/10/17
Volume Guide
Import image plane layers
Curve & Revolve
Deleting edges & History
Incremental saving
Smooth shading & Supporting edges loops
Fill hole & Poke face
Extrude tool & Problems
30/10/17
Re-Topology
Bevel edge
13/12/17
House Render
For this project i created my house, which is in the centre, and my two next door neighbours on either side of it. I did this over the course of 8 weeks. i used a variety of images of all 3 houses to make sure my model was as accurate as possible.
These were the ideas that i was thinking of doing.

For this project i created my house and my two neighbours houses. I did this by using a range of reference images to make my model as accurate as possible and i used all different types of tool and views, For example, i use the front camera view to make sure all of the objects on the house were lined up and i used the multi cut tool to create the windows and give them depth. However i really struggled with this project and kept having problems with what i created. To overcome this i asked for advice off of my tutor and my peers, i also used trial and error to figure a way around it.


No comments:
Post a Comment